How to make a plan (guide)
How to make a plan (guide)
Plan creation-publication steps
Enter the plan summary
Enter recommended points
Enter the plan flow
Enter plan details
Enter option settings
Enter the schedule
Publication of plan
1Enter the plan summary
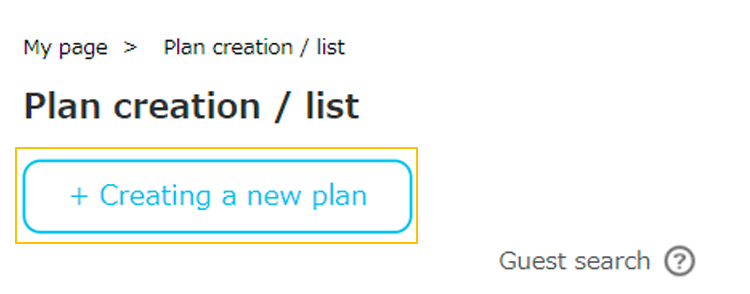
After completing the guide registration, go to [Create Plan / List] in the My Page / Guide menu and select the Create New Plan button.
* It is also possible to save the plan creation in the middle.
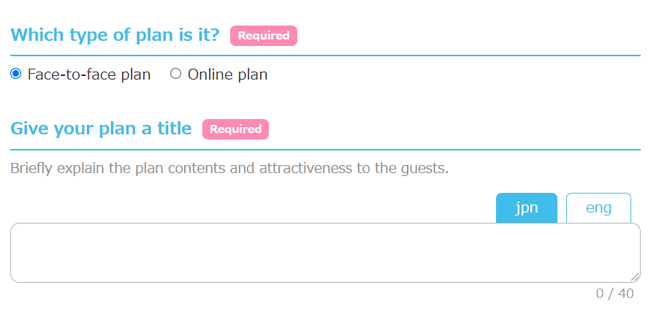
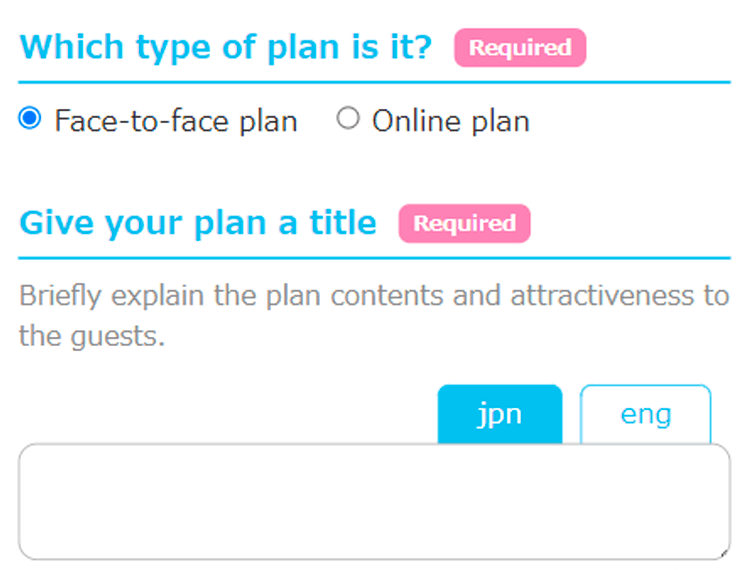
The English input field is displayed when the guest has selected English, but it is not required.
If your plan is for overseas guests, please enter the English field as well as Japanese.

First select a face-to-face plan or an online plan and enter a title for the plan.
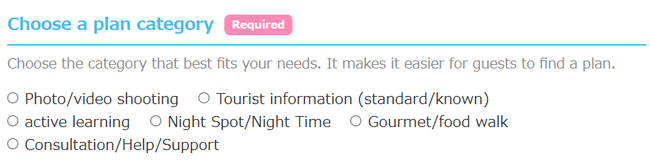
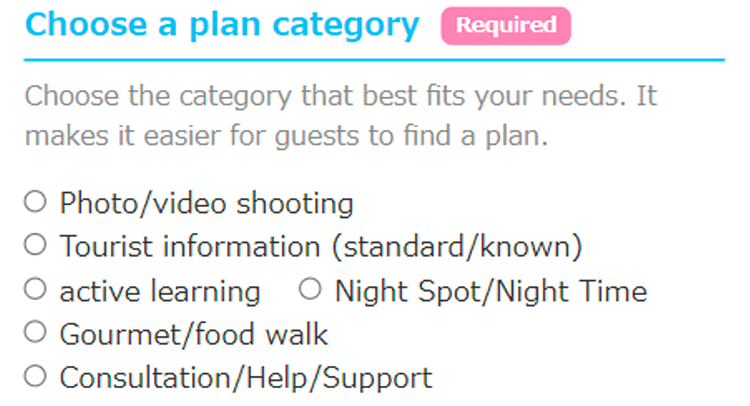
Select the plan category exactly as it will be used by guests for searching.
▼
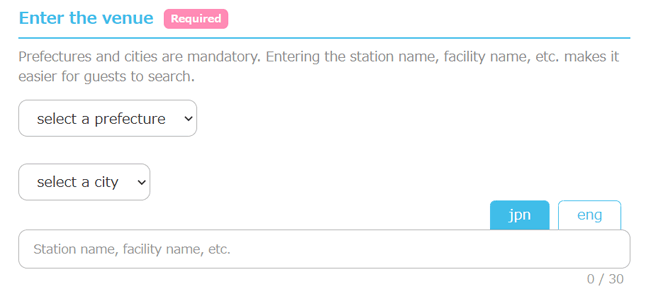
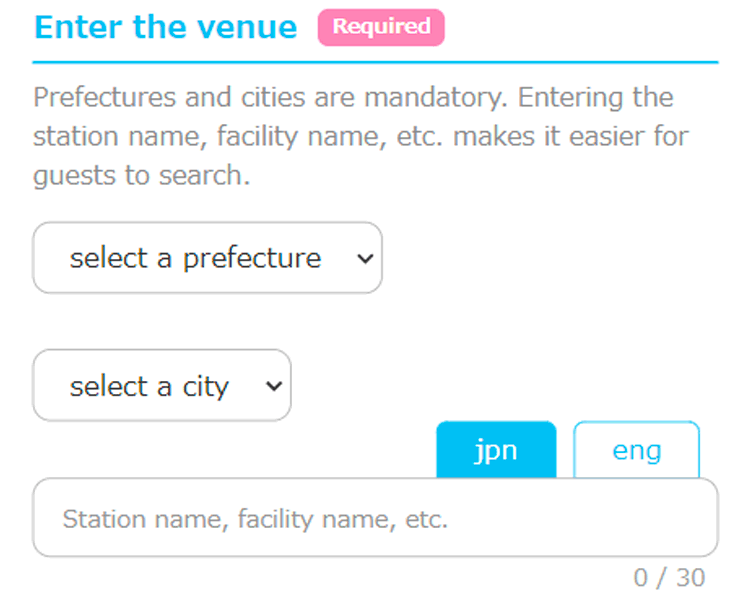
When entering the venue, enter as much detail as possible to make it easier for guests to search.
For online sightseeing and experiences, it is recommended to enter the sightseeing place and experience place.
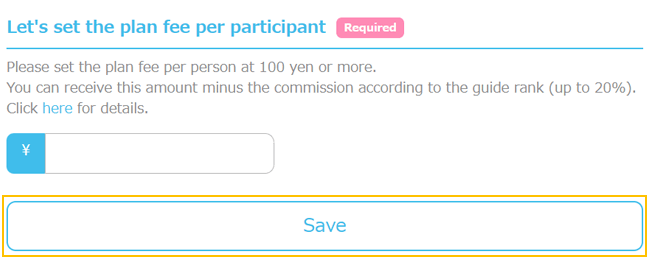
Once you have set the booking deadline, determine the price per guest.
This amount includes the usage fee of the place required to implement the plan and the fee of what the guide prepares.
* You can receive this amount minus the flat fee according to the guide rank.
Once you have set the booking deadline, determine the price per guest.
This amount includes the usage fee of the place required to implement the plan and the fee of what the guide prepares.
* You can receive this amount minus the flat fee according to the guide rank.
After that, you can save the plan contents entered so far by selecting the save button.

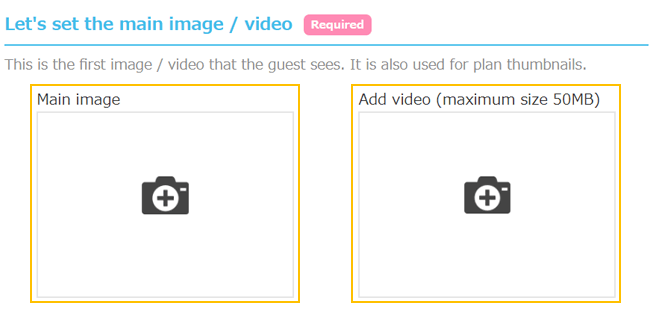
Then add the main image / video.
Please upload the main image in [JPEG] [PNG] format.
You can also use photos taken with your smartphone.
* Registration of the main image is indispensable for creating a plan.
You can register videos in the formats of [MP4], [MOV], and [AVI] up to a maximum size of 50MB.

Sub-images (up to 8 images can be registered) are displayed together with the main image in the plan details.
Please upload the sub image in [JPEG] [PNG] format.
You can also use photos taken with your smartphone.
* Registration is optional, but registration is recommended to make the plan more attractive.
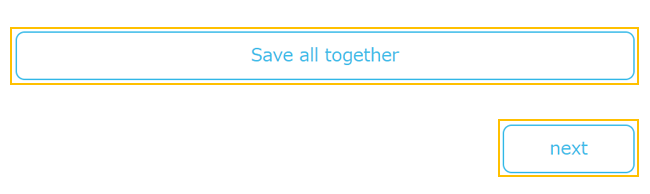
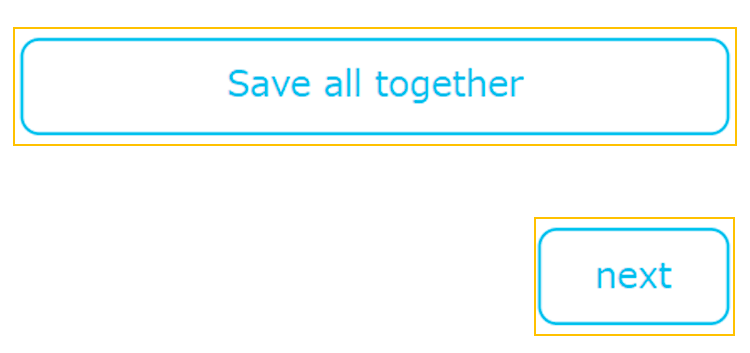
The Save Together button allows you to save all the information on that page at once.
When saving is complete, select the Next button and enter the recommended points for your plan.
2Enter the recommended points of the plan
You can enter up to 3 recommended points.
Outline of the plan You can convey the plan attractively by setting more detailed recommended points with the image.
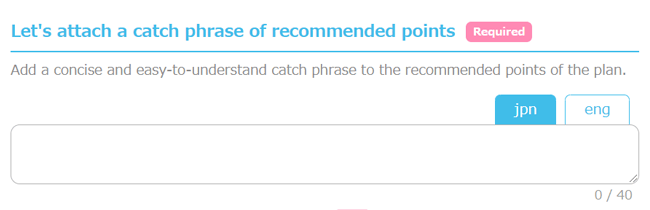
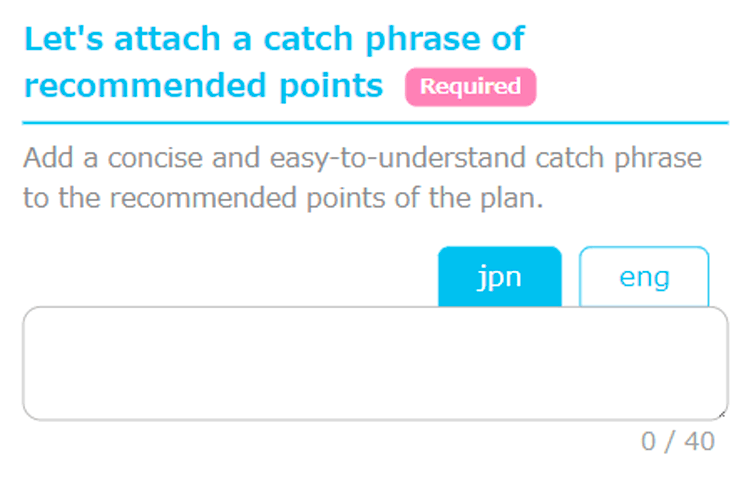
You can enter a catch phrase, detailed explanation, and images (up to 4) as recommended points.
Let's tell the guests the features and recommendations included in the plan in an easy-to-understand manner.
▼
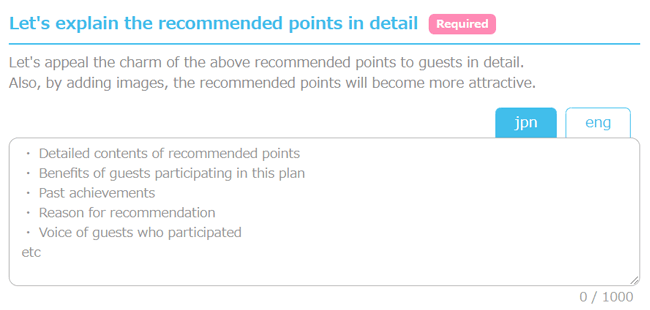
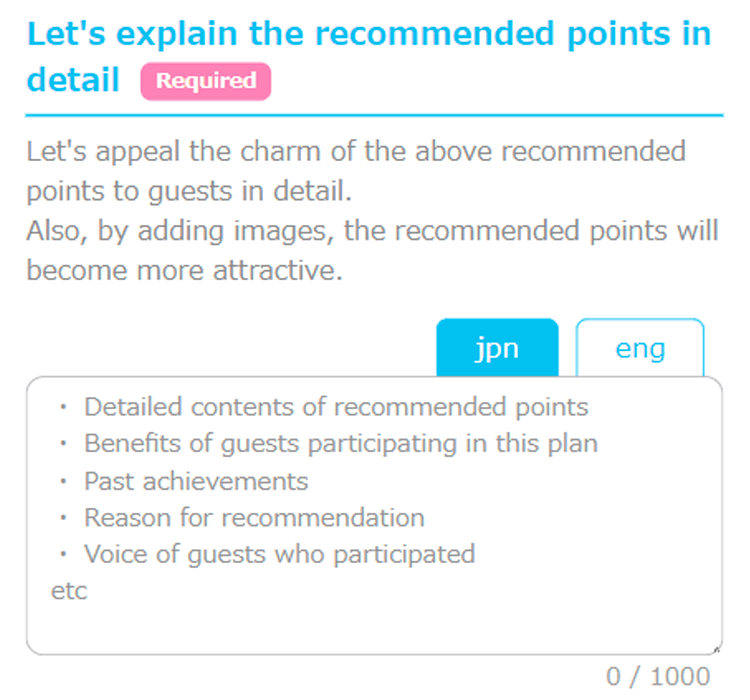
After entering the tagline and detailed description, select the save button and then register the image.
Recommended point Please upload the image in [JPEG] [PNG] format.
You can also use photos taken with your smartphone.
* At least one image setting is required for each recommended point.
If you want to continue entering recommended points, select the Add Recommended Points button.
You can enter up to 3 recommended points.


The Save Together button allows you to save all the information on that page at once.
When saving is complete, select the Next button and enter the plan flow.
Select the back button to move to the plan summary input page.

3Enter the plan flow
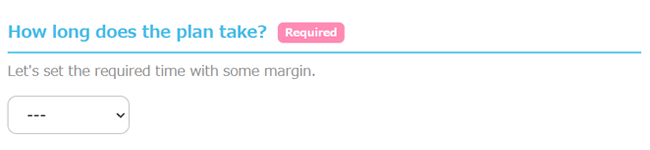
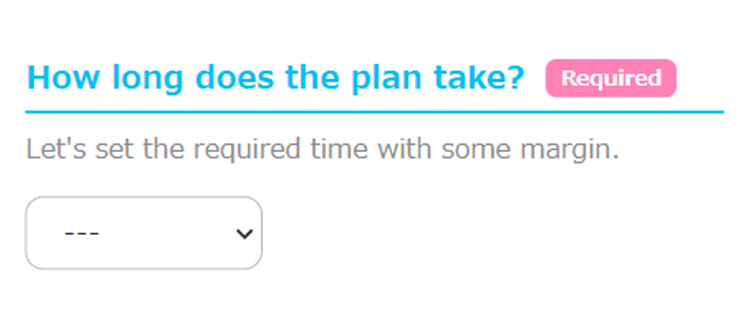
Enter the time required for the plan.
Let's set the required time with some margin from the meeting to the dissolution.
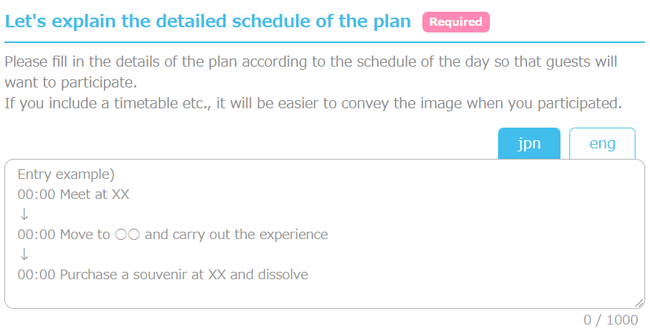
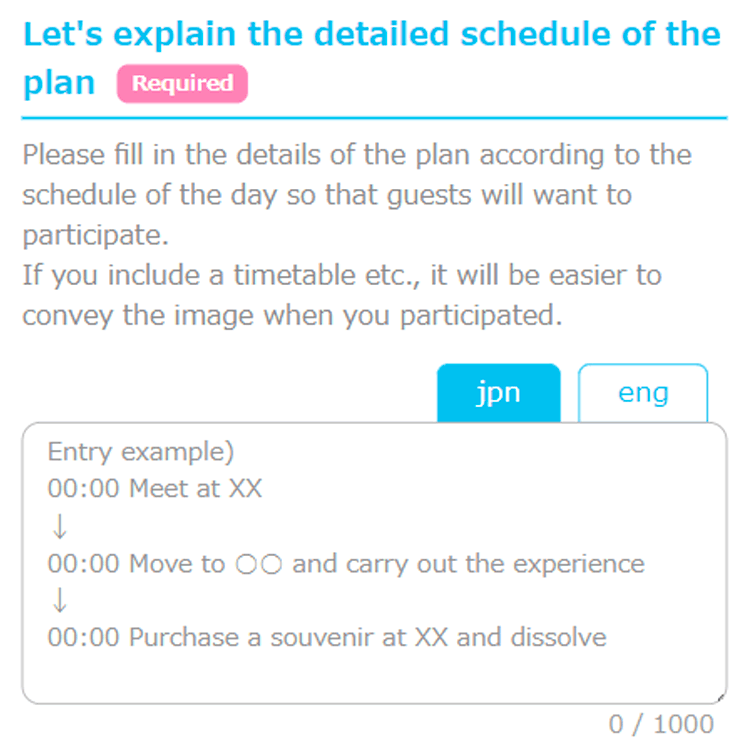
Please fill in the detailed schedule and schedule of the day in an easy-to-understand and concrete manner.
▼
The Save Together button allows you to save all the information on that page at once.
When you're done saving, select the Next button and enter your plan details.
Select the back button to move to the recommended point input page of the plan.


4Enter plan details
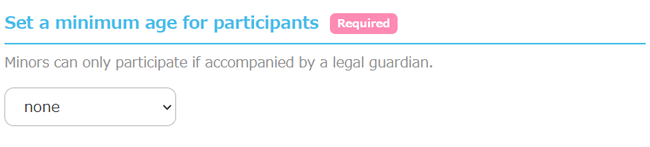
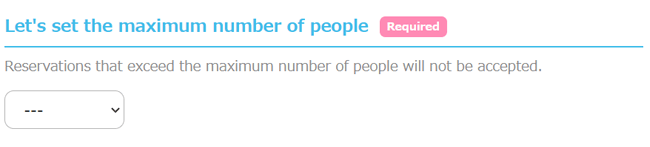
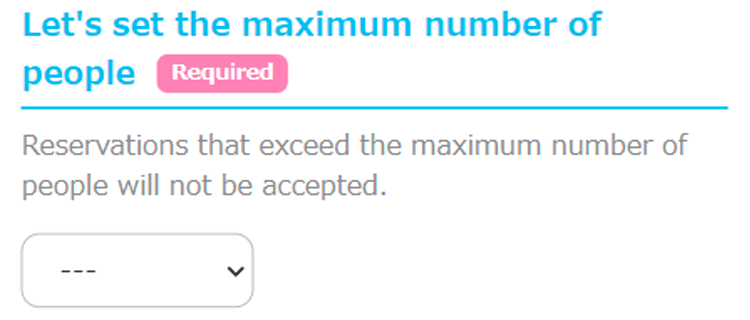
Please set the minimum age and maximum number of participants.
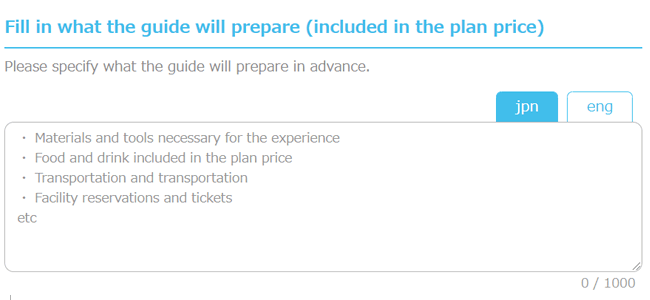
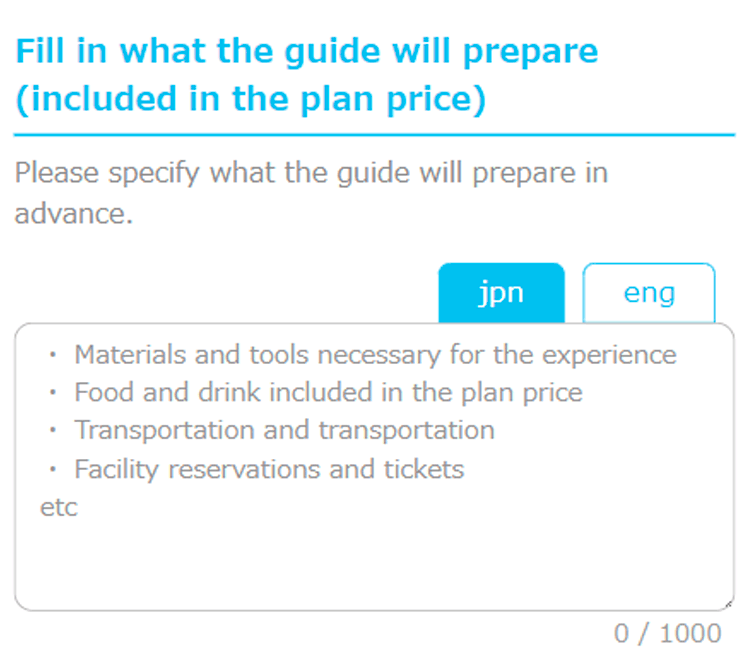
Fill in the items (included in the price) prepared by the guide required to implement the plan.
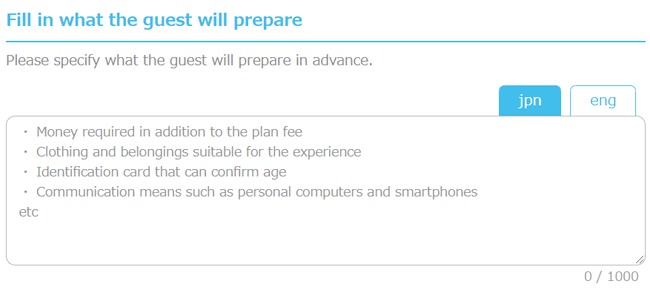
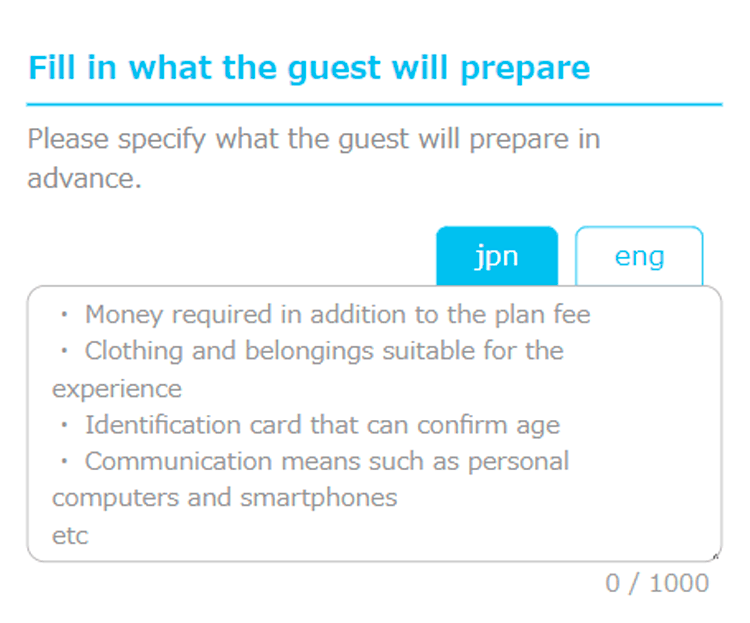
Also, fill in what you want the participating guests to prepare.
Consider what to do if the guest forgets.

▼
▼
▼
▼
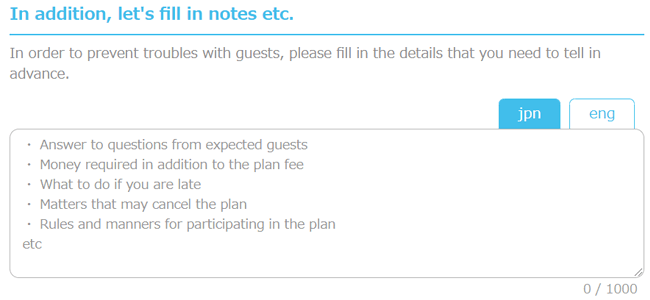
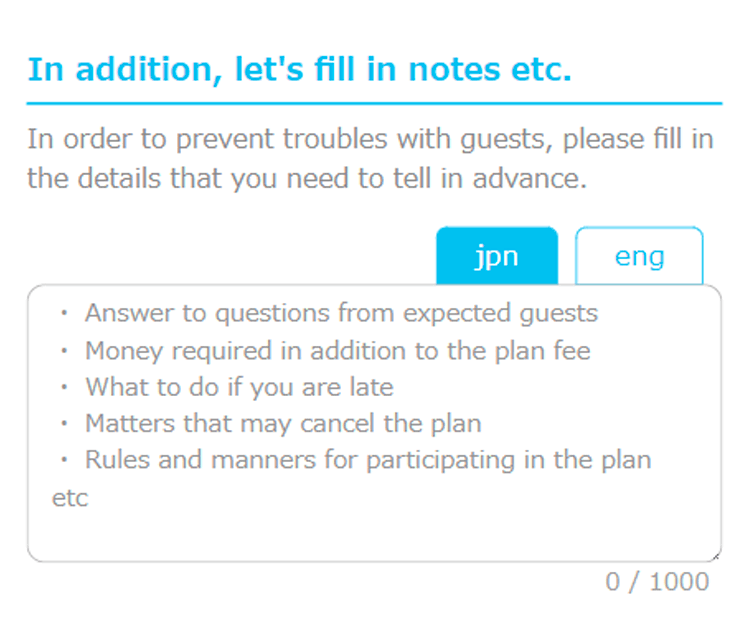
Please fill in the details of the meeting place in an easy-to-understand manner.
On the day of the event, you may receive a message from a lost guest, so please check it carefully.
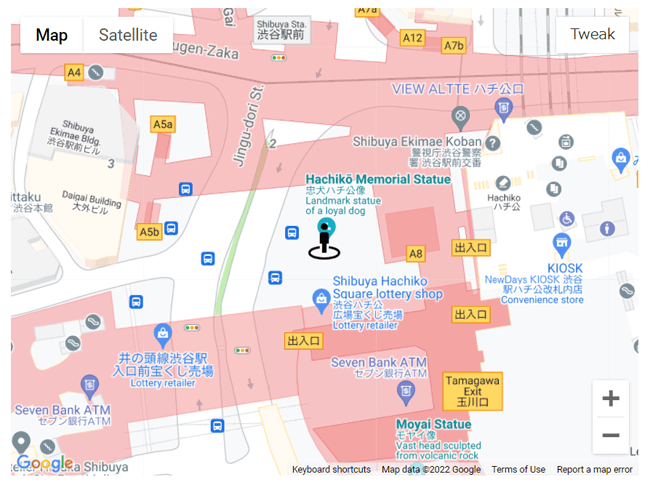
Enter the address of the meeting place and select Save to display the map of the meeting place.
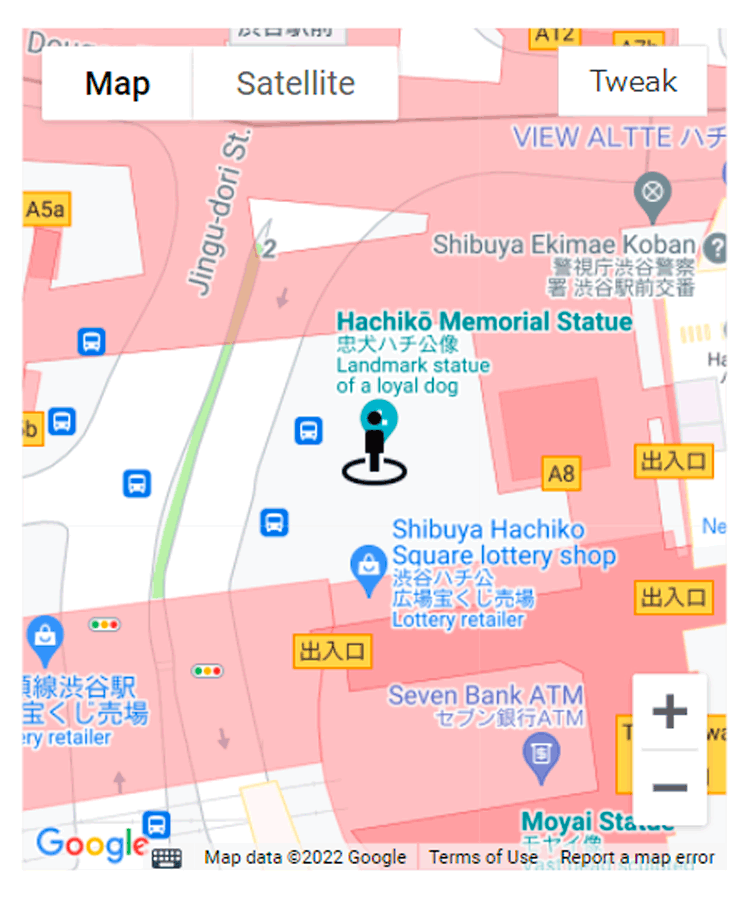
You can make fine adjustments by selecting the fine adjustment button and dragging the map.
When you have finished making fine adjustments, select the Save button on the map.
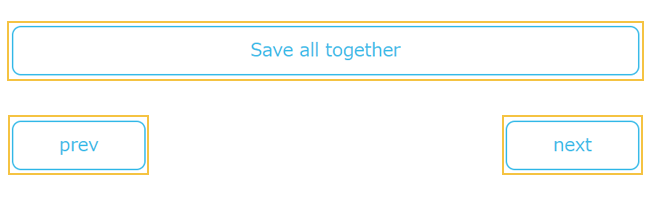
The Save Together button allows you to save all the information on that page at once.
When saving is complete, select the Next button and enter your plan's option settings.
Select the back button to move to the plan flow input page.

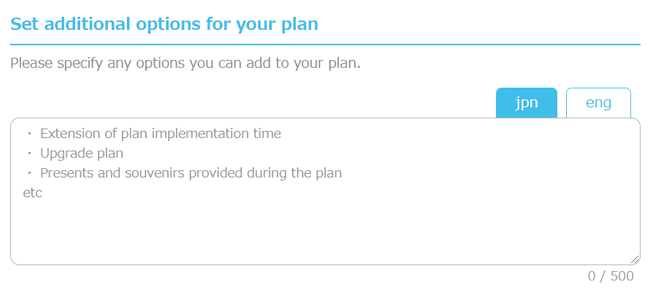
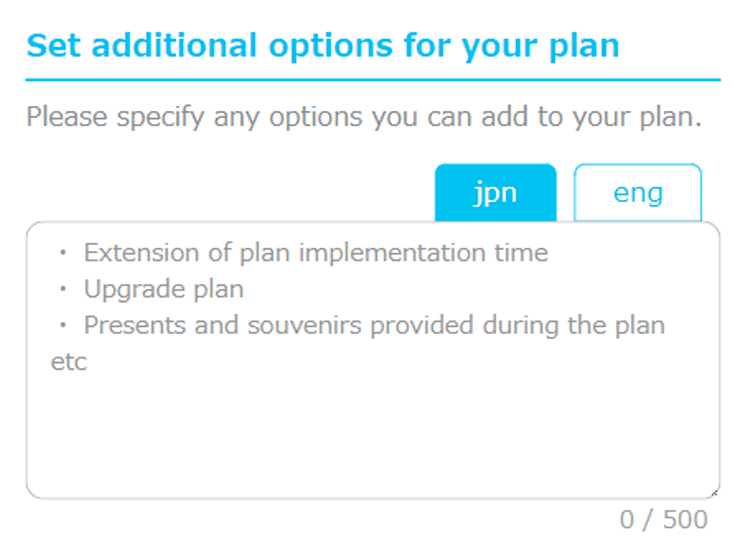
5Enter plan option settings
You can set options for the plan.
Even if it is not included in the basic plan, please set it if there is something that can be prepared according to the guest's wishes.
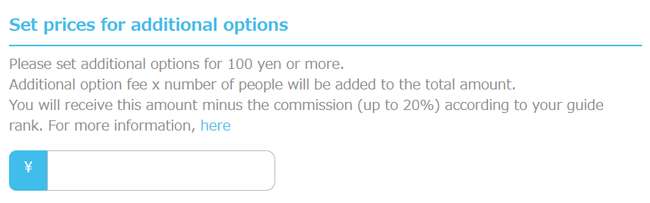
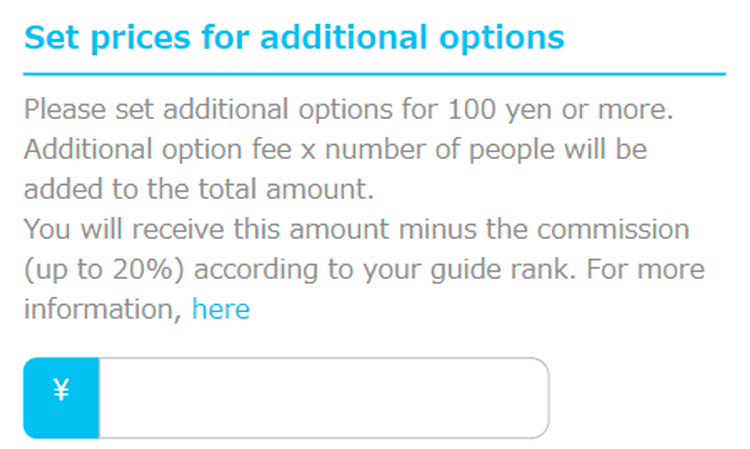
You can set up to 3 options.
* You can receive the option amount minus the flat fee according to the guide rank.
▼
If you want to continue setting additional options, select the Add Options button.
You can add up to 3 options.

The Save Together button allows you to save all the information on that page at once.
When saving is complete, select the Next button and enter your plan schedule.
Select the back button to move to the plan details input page.


6Enter plan schedule
Please set the date and time when the plan can be implemented.
Since guests often search for plans by schedule, we recommend that you enter multiple dates and times that can be implemented.
Also, if it becomes difficult to implement at that date and time, you can change it by editing the plan list.
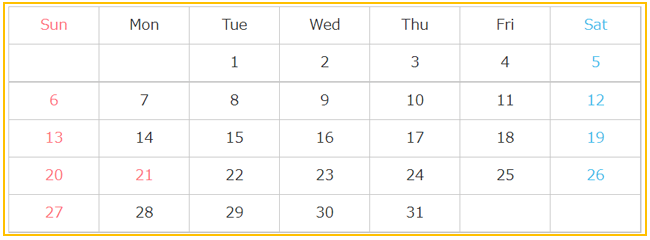
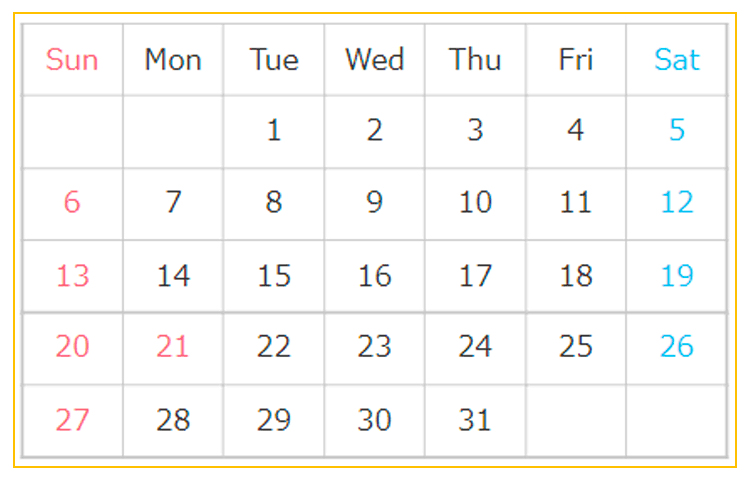
After selecting the feasible dates, set the plan start time.
The start time can be set in units of 30 minutes, but please set it in consideration of the required time of the entire plan and the available time of the facilities and transportation to be used.
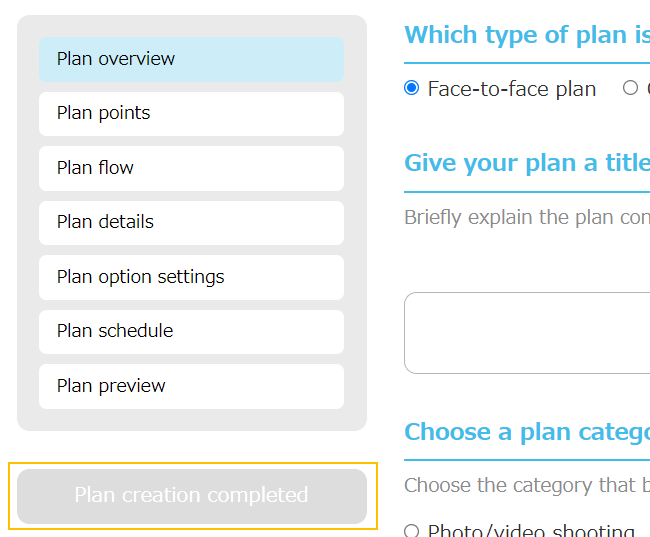
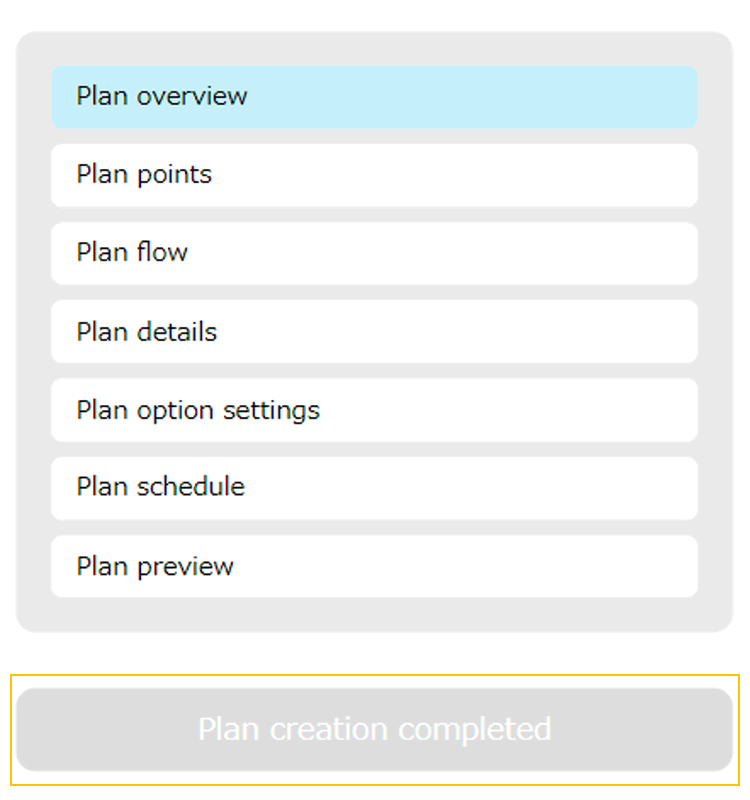
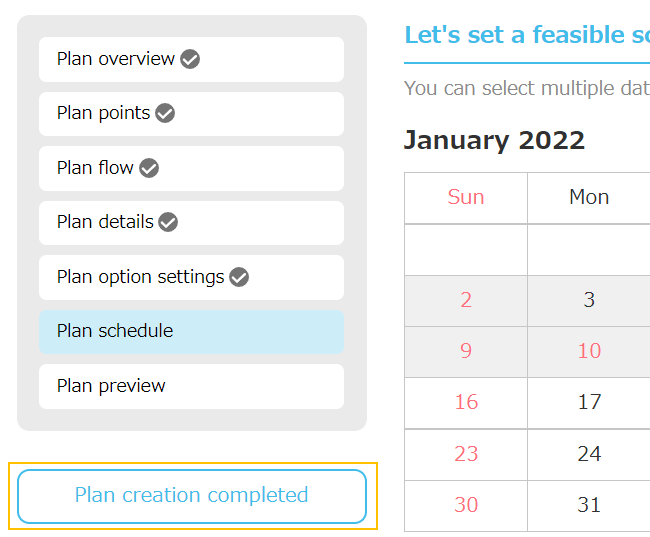
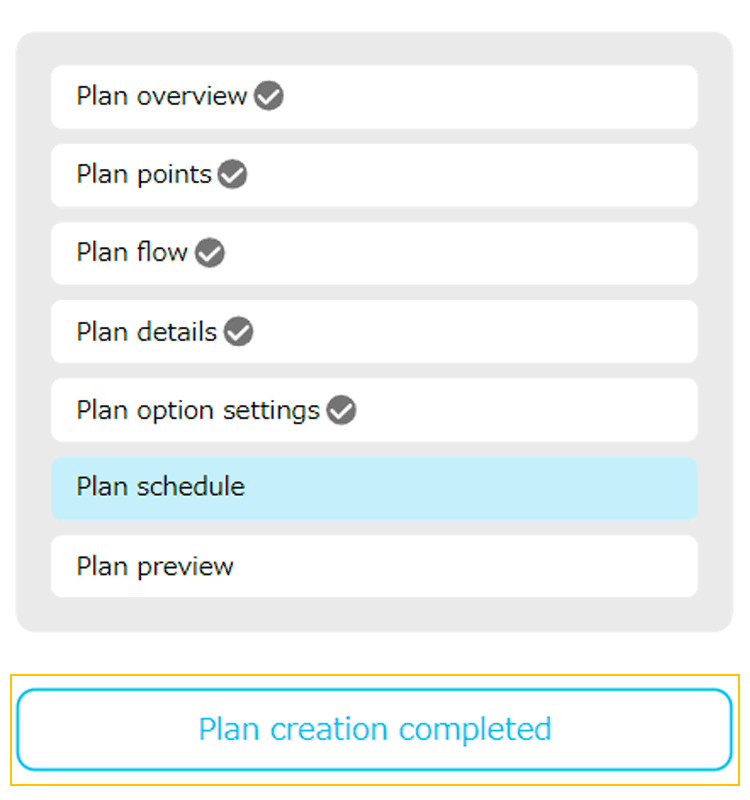
If you enter all the required items, you will be able to select the plan creation completion button at the bottom of the page.

You can also check the plan creation status from the menu on the left side of the screen (smartphone is at the top).
A check mark is displayed for the items that have been entered.
* The plan schedule and preview (plan details seen by the guest) can be published even if they are not entered.
▼
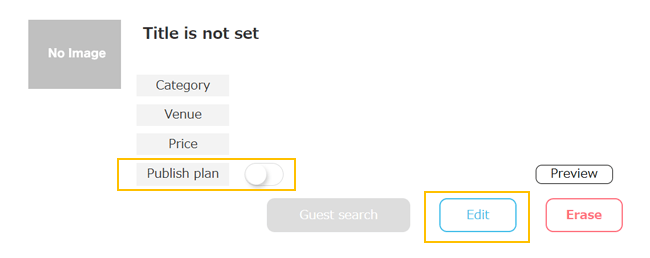
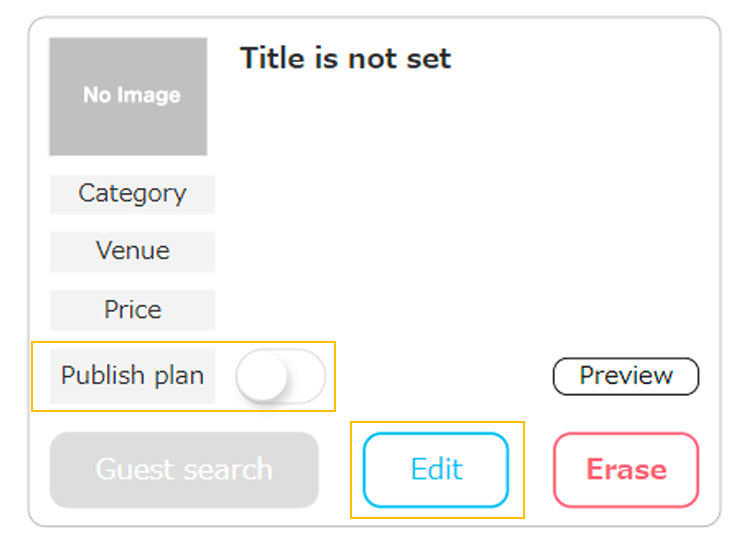
You can publish the created plan from the plan creation / list.
If there are unfilled items, the publish plan button cannot be selected and the message "Please enter the required fields for the plan" will be displayed.
In that case, enter the required items from the edit button.